


No products in the cart.
How to Set Up Your DJI O3 Air Unit: A Step-by-Step Guide
So, you’ve just purchased your new DJI O3 Air Unit, and you’re excited to take it for a spin. But first, you’ll need to get it set up. Follow this comprehensive DJI O3 Air Unit guide to ensure a smooth setup process.

Unboxing and Preparing for Setup
What's Included in the Box
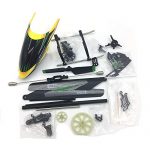
First, make sure you have all the necessary components:
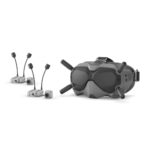
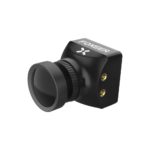
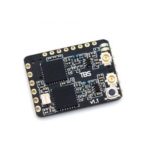
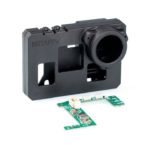
- DJI O3 Air Unit
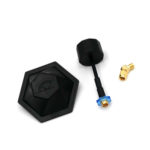
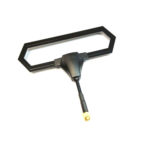
- Antennas
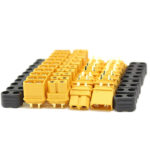
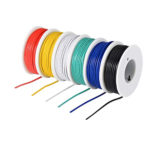
- Cables and connectors
- User manual
Necessary Tools and Equipment
Make sure you have the following tools and equipment:
- Compatible HD FPV equipment
- Screwdriver
- Computer with DJI Assistant 2 installed
Step-by-Step DJI O3 Air Unit Setup
Installing the Antennas
- Attach the antennas to the designated ports on the DJI O3 Air Unit.
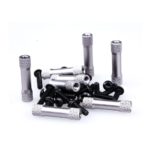
- Secure them using the provided screws.
Connecting to Your FPV Drone
- Follow your drone’s manual to connect the DJI O3 Air Unit using the provided cables.
- Make sure the connections are secure and in the correct orientation.
Configuring with DJI Assistant 2
- Connect the DJI O3 Air Unit to your computer using the USB cable.
- Open DJI Assistant 2 and follow the on-screen instructions to configure the DJI O3 Air Unit settings.
- Update the firmware if necessary.
Ready to Fly!
Congratulations! You’ve completed the DJI O3 Air Unit setup, and your system is ready for its first flight. Don’t forget to refer to the official website for further information or any troubleshooting needs.
Remember, safety first! Always follow the manufacturer’s guidelines and local regulations when operating your FPV drone.